
At this point, we’ve placed frames, accessories, custom parts, and calculated and reviewed all our connections.
All parts, however, are still placed loose in our project assembly. In order to create more structure, we will make selections and place those parts together in 1 subassembly.
Often used subassemblies are :
- Backwall
- Frontwall
- Storage
- Arch
This will divide our design into segments, which makes it easier to create and understand the 2D drawings in a later stage.
In big projects, this helps with performance as you can work on independent subassemblies without having to open the full design. You can also split the work by assigning team members with their own subassembly.
Since Inventor is a reference-based program, all changes made within the subassemblies will also be applied in any assembly containing these subassemblies.
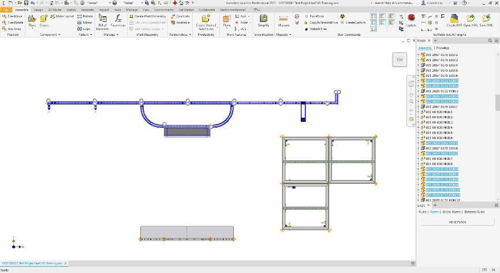
Let’s begin by selecting all the parts that make up the back wall. In complex projects, it can help to hide certain sections that would otherwise be in the way.
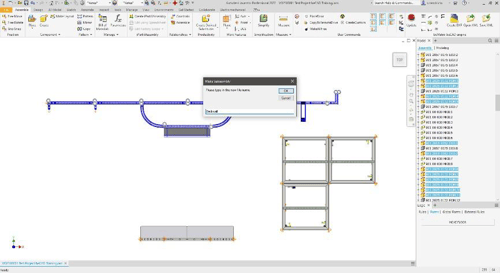
Once we have the parts selected, press the TAB key on your keyboard.
Enter the name of the subassembly.
If you want to place the subassembly in a subfolder of the project folder, start with the folder's name followed by a “\” and then the assembly's name). The selected parts will now be grouped together.
Continue with the other sections. We will create the following subassemblies:
- Backwall
- Sidewall
- Storage
- Arch
- Ground
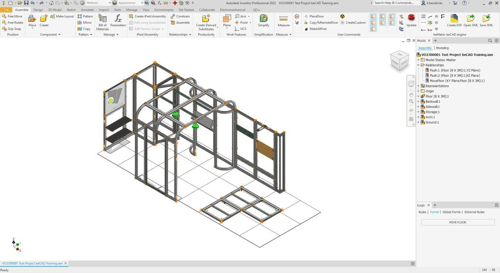
If you want to move parts from one assembly to another, you can select the parts and use CTRL + TAB to choose a different subassembly.